Sunday 27 April 2014

Difference Between web application, site collection and sites ?

Basically only difference between web application , site collection and site is understandable by SharePoint Hierarchy.

SharePoint Hierarchy:

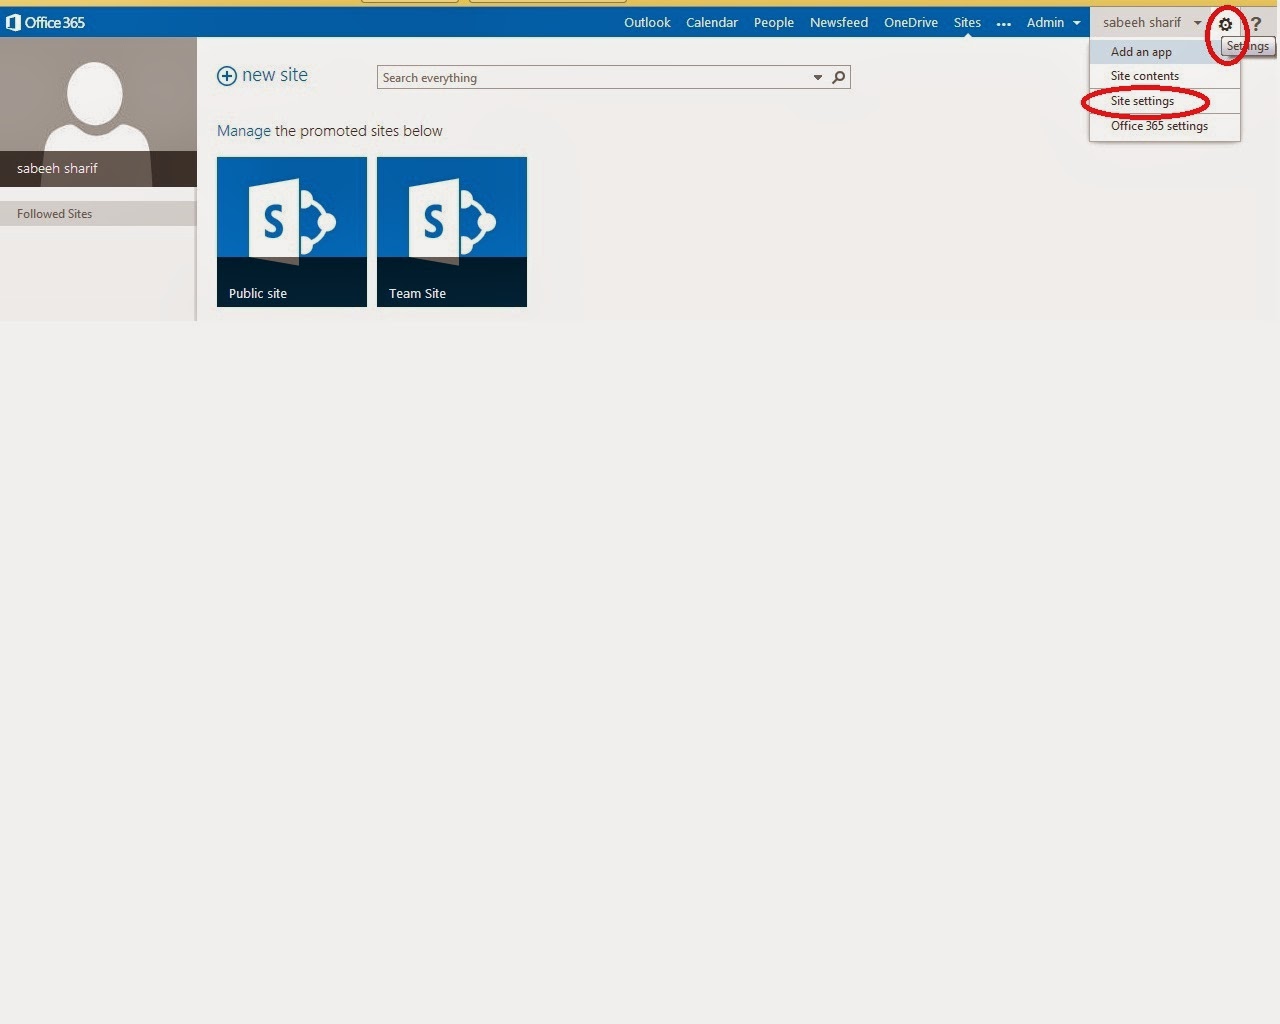
To create site collection you need at least web application.

Site Collection:

  • Site collection is logical container of multiple sites within a web application.
  • Grouping sites in site collections allows those sites to share content, administrative settings, security rules, and, optionally, users and groups.

Top Level site:

  • Top level site is also termed as site.
  • Each Top Level Site has zero to many sub-sites (simply called sites)

Sites:

  • Sites are simply inherit from site collection.
  • These are treated as child's of site collection.
  • A site can be a top-level site or a sub site of the top level site.
  • A site can also have other sites – these are called sub-sites.

Friday 18 April 2014

How SharePoint 2013 looks on Mobile Phones?and constraints of Different Views.

How SharePoint 2013 looks on Mobile Phones? and constraints of Different Views.

There are 4 Views of SharePoint 2013 for Mobiles which depends on browsers, OS and screen resolution.

  1. Contemporary view
  2. Classic view
  3. Full screen UI
  4. Device channels (custom)

1:Contemporary view


  • This view render in HTML5.
  • Built in Sharepoint 2013.
  • Only concern with Smartphones.
  • This is only enable in Mobile Internet Explorer version 9.0 or later versions for Windows Phone 7.5, Safari version 4.0 or later versions for iPhone iOS 5.0, and the Android browser for Android 4.0 or later versions.
  • Contemporary GUI view is good for touch screens smart phones. 
  • Supports full screen UI view.


2: Classic view


  • This view render in HTML.
  • Light weight Mobile view.
  • Only concern with Smartphones.
  • Hyperlink navigation model.


3: Full screen UI


  • For smartphone and slate devices.
  • This view resembles the desktop SharePoint rendering experience.
  • Same navigation experience as the desktop experience.
  • The contemporary view has a menu option to switch to the full screen UI view.


4: Device channels(custom)

  • For smart phone and slate devices.
  • single publisshing site can be implented for different design depends on agent string.
  • The site and content can be mapped to use different master pages and style sheets for a specific device or group of devices.
  • You can easily show different content to different device channels by using same page and page layout.

Constraints of Different Views:


How to Enable sharepoint 2013 for Mobile? and supported Mobile Browsers.

Enabling sharepoint 2013 for Mobile Phones

 and Supported Mobile Browsers.

1: Click on the Gear symbol.


2: Click site Settings.

 3: Under site actions click manage site features.

4: Scroll down and find Mobile Browser View. Click activate.

Supported Mobile Browsers:


Tuesday 1 April 2014

How to assign Roles in SharePoint 2013

Types of user role in SharePoint 2013:

Global administrator:

Role you get after signup in SharePoint 2013 have controlled to assign different roles to the user, can do any amendment in SharePoint portal. There can be more than one global administrators assigned by first global administrator.

Team site administrator:

Team site administrator have only concern with team site can use website designer tool to design the website.
team site administrator cannot remove the global administrator but global administrator can remove the team site administrator. They can add user to team site.

Site users:

Site users can edit their profiles cannot use website design tool. they have no access to administrator portion.

Admins by group:

Default Groups:

Here are the default groups that come with SharePoint Online for professionals. If there are too many users who have same roles assigned by admin rather than assign one by one assign to whole group.

How to assign roles and permissions in SharePoint 2013?

Step by Step:

1: Site settings.
after clicking gear symbol then select site settings.

2: add people or make group

If you dont have already users or groups then follow this step else ignore.

3: Groups

Then click group on extreme left.

4: New group


5: Create group

After creating group you can add users in specific group.

6: Site settings

Now again select site settings to assign permissions.

7:Site permission


8: Select Group

select specific group then click edit user permission.

9: Edit Permissions

Here you can select which type of permissions you have to give to selected group. Select the permissions to assign to the group and clear the permissions you want to remove, and then choose ok


Individual level permissions:

1: Permission level:

If you like to apply permissions on individual user or group follow these steps. If you have no idea which permissions what functions can perform, you can edit it and examine it.


2: Editable default permission levels


3: Test Contribute

You can select any permission level, i have selected contribute. Now you can examine what functions can be performed by default contribute level. You can enable/disable a specific permission in each permission level.

Create New Permission level

If you want to create your own permissions level it is also possible in 2013 SharePoint.

1: New Permission level

Give any name to your new permission level. select the options you want in your level.


Monday 24 March 2014

What is Subsite?

In the following illustration, My_site is one of two subsites of the top-level Web site named My_server. My_site also has two subsites of its own. Together, My_server and all four subsites make up a single site collection.

Create a Subsite:

If you want to create a site to manage content related to an existing team or project, you can create a subsite off of that team or project site. For example, you could create a team blog as a subsite to your team site.
Before creating a subsite, make sure you are at the location on your site where you want to create the new subsite. To create a subsite you need to have at least permission equivalent to being in the Designers group on that site. When you create a subsite, you can choose from several site templates, such as a blog, community site, or project site.
  1. Click Settings Options button > Site contents.
  2. On the Site Contents page, click new subsite.
     NOTE    If the new subsite link doesn’t appear on the Site Contents page, you don’t have permission to create a subsite.
  3. Type a Title and URL name for the site, and select a template. If you want to, you can also change the permissions and navigation settings for the site on this page.
  4. When the initial settings look good, click Create.

Step by Step:

http://plexhosted.com/billing/knowledgebase/268/How-to-create-a-sub-site-in-SharePoint-2013-.html