Before we completed to get DOM elements without using SharePoint Designer.
Now we are going to configure CDN:


Now we are going to configure CDN:

6.1 Introduction of CDN and Types
Content Delivery Network (CDN) is a place where you can
place common files like assets style sheets, Js files, Json, jpeg, ping etc.
Expose these files so applications like SharePoint spfx webpart or extensions
can get files from this location.
CDN have 2 types:
A: Private CDN (Used to apply high level permissions)
B: Public CDN (Files used by SPFX web parts can only utilize the Public CDN and clientSideAssets folder)
For Details: https://docs.microsoft.com/en-us/office365/enterprise/use-office-365-cdn-with-spo
A: Private CDN (Used to apply high level permissions)
B: Public CDN (Files used by SPFX web parts can only utilize the Public CDN and clientSideAssets folder)
For Details: https://docs.microsoft.com/en-us/office365/enterprise/use-office-365-cdn-with-spo
6.2: Steps to create SharePoint CDN site
1: Create site collection with teamsite and create document library to
save fileshttps://portal.office.com/adminportal/home#/homepage

Open this site collection:

2: Now
create Document library where we will upload files to treat as CDN files.

6.3: PowerShell Commands to enable CDN for Document Library
1: Connect
to SharePoint Online using: https://<sitename>-admin.sharepoint.com
Connect-SPOService –Url https://sabeesharif-admin.sharepoint.com
Connect-SPOService –Url https://sabeesharif-admin.sharepoint.com
2: Command
to check CDN is already enabled on this site or not
Get-SPOTenantCdnEnabled –CdnType Public
if its false run following command:
Set-SPOTenantCdnEnabled -CdnType Public
It will take 15 minutes to enable public CDN keep checking using until, it shows True
Get-SPOTenantCdnOrigins -CdnType Public
if its false run following command:
Set-SPOTenantCdnEnabled -CdnType Public
It will take 15 minutes to enable public CDN keep checking using until, it shows True
Get-SPOTenantCdnOrigins -CdnType Public
3: Add
newly created library to CDN using following command (path of our document
library)
Add-SPOTenantCdnOrigin -CdnType Public
–OriginUrl sites/cdn/documentlibraryName
Again
it will take 15 mins to apply
Keep
checking until Pending status removed using following command:
Get-SPOTenantCdnOrigins -CdnType Public
6.4: Provision of unsupported files for CDN using PowerShell
First let’s check by default supported files
1: Let’s
check CDN supported files extensions by default:
Get-SPOTenantCdnPolicies -CdnType Public

2: We got scenario in which we have to get .txt and
.js files as well so there is a PowerShell command to provision these
extensions in CDN. On your Desktop create one file with .txt and one with .js extension
and upload to this CDN document library


Upload
these files In Document library:

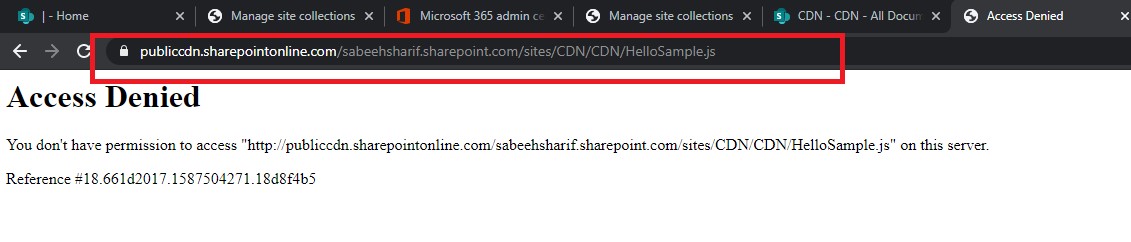
3: Let’s try to access js file using browser:
Modify URL like below:

4: On Browser you will get Access denied because
these files are not publically accessible only you can get using Spfx or by
passing token using Postman. So only valid users can access these files
6.5: Test CDN Configurations using Postman
1: Now open Postman to check these files are
accessible outside or not. You have to pass Referer as header in.

2: Now let’s give it try to access .txt file: This
file is not accessible because we didn’t register .txt extension
in our CDN policies

3: To check registered policies: as you can see txt
file is missing

4: Register
new extension txt in CDN Policies:
Run
this command:
Set-SPOTenantCdnPolicy -CdnType Public -PolicyType IncludeFileExtensions -PolicyValue "CSS,EOT,G
IF,ICOJPEG,JPG,JS,MAP,PNG,SVG,TTF,WOFF,TXT"
5: Now try to access .txt file using postman, will
be accessible.
6: Finally, CDN Configuration completed.
Now time to upload our binaries of extension to CDN.
Next 7: Deployment of Extension/WebPart to CDN withoutdebug mode
Thanks Best Of Luck. If you stuck somewhere please feel free to ask in Comment. #SharingIsCaring
No comments:
Post a Comment